~Life Rant~
Phew! Finals is over and what did I do? I built a Gundam. What a good way to start your break... if only I actually have a break. Sigh, Tuesday and its back to the books I go. However, before that I hope I can finish up some of my desired things I want to do(like building that Blue Frame and playing a new game or two).~End Life Rant~
RX93-V2 Hi-V(Nu) Gundam
Pilot: Amuro Ray
Height: 20.0m
Weight: 27.9t
Armaments: Fin Funnels(6), Head Vulcan Gun, Arm Machine Gun, Beam Rifle, Beam Saber(3?), New Hyper Bazooka, Shield
MS Note: Hi-Nu is the novel version of the Nu Gundam. It is not an upgrade to the Nu even though it seems like it. I can't really say much about this Gundam as I haven' seen Char's Counterattack yet so it is basically Amuro's final Gundam which happens to be a mobile suit for Newtypes(psycommu system).
Okay, lets get on with the first part of the review. If you're curious about some points of articulations and gimmicks, I'll cover some of them during the construction phase below.
Note: Does the photos look alright to you? Not too blurry or something? I'm asking since I'm lowering the JPEG quality to reduce space used and my upload times. ^^;
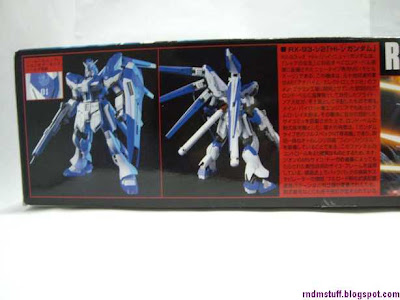
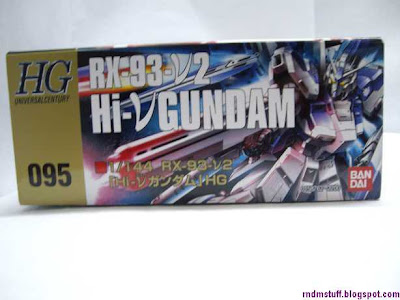
Part 1: Box
Part 2: Box Open!


Part 3: Runners

 Quite a lot of runners, but for 2200 Yen, it should have been expected. The manual has a rather plain front cover though.


Part 4: Building Process + Some Paint
Part 4.1: Torso
 Similar to what most of you have experienced with the 00 HGs, this one also has an inner frame for the torso section.
 The "fin" can swivel up and down. Dunno what its meant for though, does it help stabilize the Hi-Nu? XP
 The bottom part is a bit weird though. I wonder why the polycap a bit more inside than normal... unless I did something wrong...
Part 4.2: Head


 The head can really go high up but the is very hard to turn. The helmet kinda clashes with the collar and makes it quite frustrating to turn...
Part 4.3: Beam Rifle & New Hyper Bazooka

 If you strife for color accuracy, you'll need quite a lot of white and silver paint for this section. The large surface area that needs to be covered prevented me from attempting to paint it as I only use markers(PITA if you want the paint to be constant and not mess up).
Part 4.4: Shield

 The shield is uber big and errr, has an interesting zig-zag pattern. Okay, I don't hate it, its nice and different from the usual symmetrical shields. But its a bit big and well, should obviously have problems with the shoulder section later on.
Part 4.5: Arms
 The arms are not symmetrical and is very similar to the Nu IIRC NK's recent review on the HGUC Nu Gundam.
As you can see, there are two hands for the right arm. One of it for holding the beam rifle and new hyper bazooka while the other is standard hands similar to an NG.
*The "gun hand" has a tab in it similar to that of a MG hand to firmly hold the guns.*
 Decent articulation for a HG. I painted some of the shoulder armor sections silver based on the box pictures.
Part 4.6: Legs

 You'll spend some time here if you want to make sure the feet comes out with the right colors. I just used my panel lining marker for the black sections and a not-so recommended silver marker for the silver area.

 Ball joints but decent articulation. Wished they used the same leg connection as the MG here for a bit more articulation at the hips... Also, unlike the MG, the rear thrusters are immovable.
Part 4.7: Waist
Part 4.7: Back


 The beam sabers are stored in the "wings". I decided to paint the "pipes" tip with gold instead of the copper they suggested due to not having that color. Do you like the shininess? XD
Sadly, the seams got a little more obvious for the "pipes" since the paint leaked into the plastic...
Part 4.8: Fin

 Only two are "usable" while the "four" cannot do anything but stay at the back. Depending on the person, this may off your buying decision. Didn't really bother me though since I don't have much space to do a "permanent" "Fin Funnels Deployed" pose. Wait, that reminds me... I can't do the "pyramid of light" with just two funnels... DX
Okay, that's all for now, the rest of my commentaries are in part 2 including actions shots and so on.


0 comments:
Post a Comment