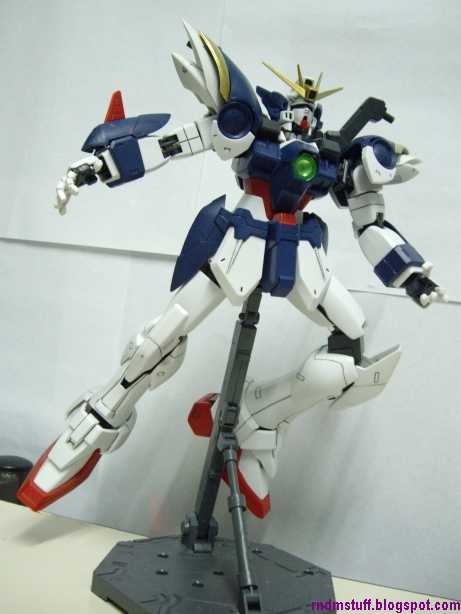
 This is just a quick compilation to the WIPs (you need to click the part title to see the whole thing) and some added commentaries. So, if you already read the WIPs before, you don't really need to read this part. Nonetheless, on with the second part!
Part 1: Box, Runners, Materials & Manual Scans
Part 2: Work in Progress (WIP) Compilation
Part 3: Overall Review
Note: Those who are familiar with Dalong's PG reviews may find it kinda similar though not as good since this is just added commentaries to old shots. ^^;
Part 0: Before Building a Bootleg...
Before building any Gunpla, you much have the necessary tools which consists of a side-cutter and a hobby knife (or a stationery knife will do) by the least. Some right colored markers to hide the nubs if you can buy em'. As this is a Perfect Grade (PG), you'll also need a screwdriver. Make sure you have a good one!
As for a bootleg Gunpla, you'll surely need to have a knife handy. This is to cut any excess plastic off as some parts might not ant to go in easily. You will also need some superglue ready. Some parts may want to drop off easily or you just want to secure some sections of the body. Be warned that you must be extremely careful with superglue as if you apply it wrong, the model might get problems...
Read on~
07/01/10 - Edited in some extra notes at the bottom.
08/01/10 - Noticed something about the feathers which I didn't do. XP
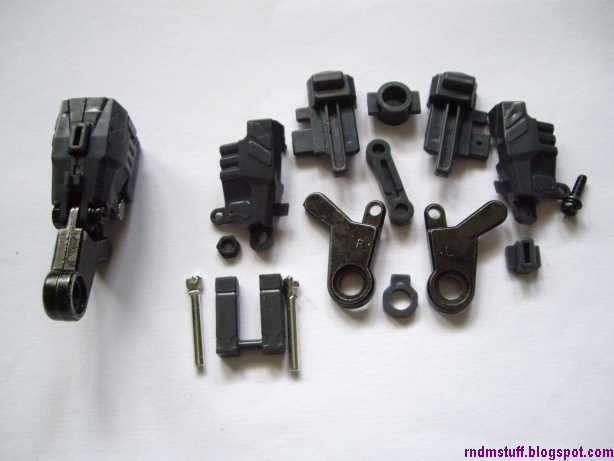
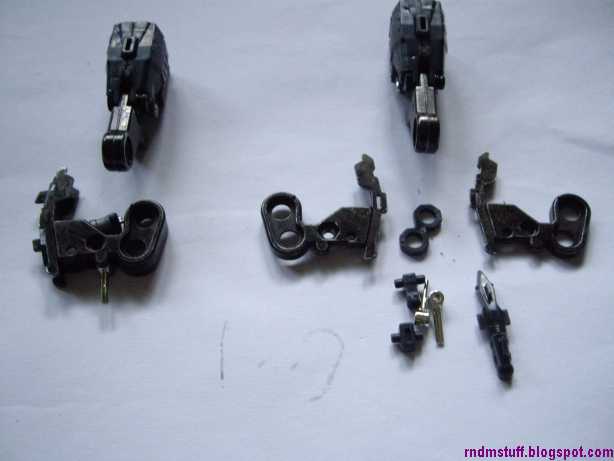
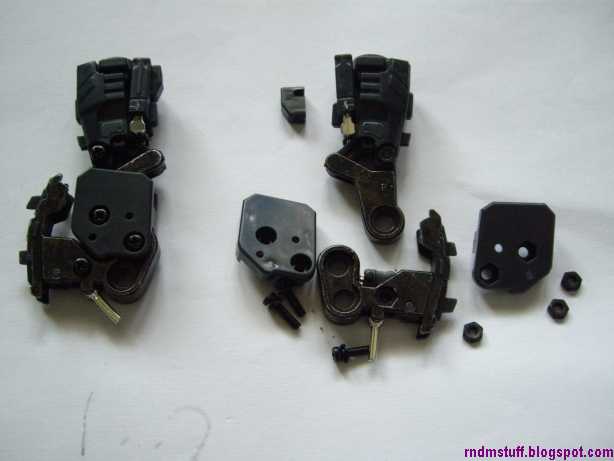
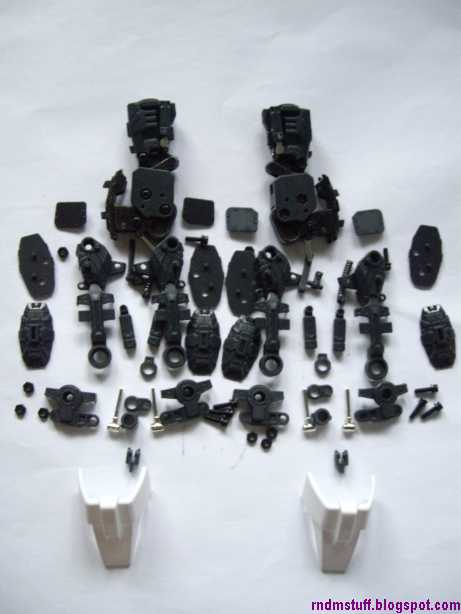
Part 1: Arms
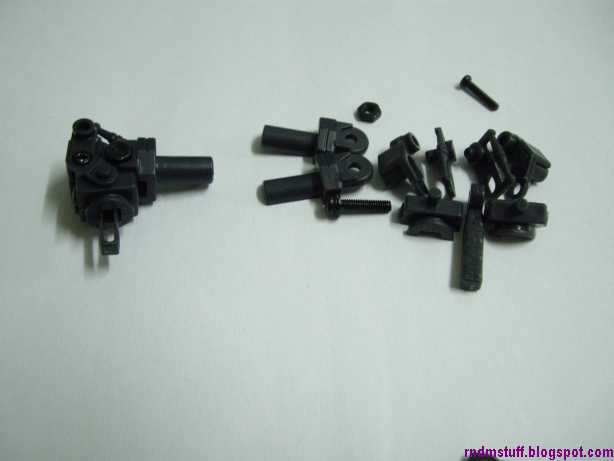
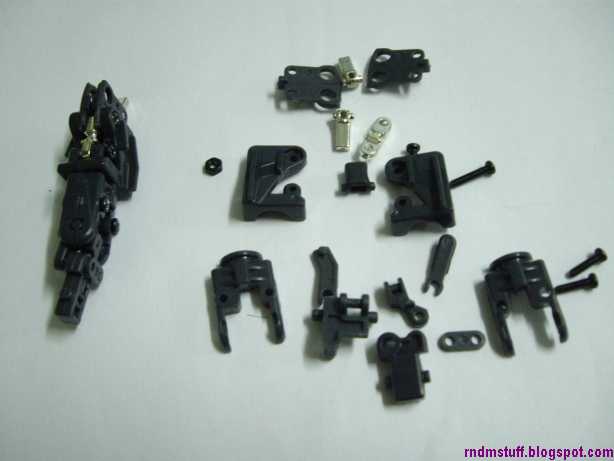
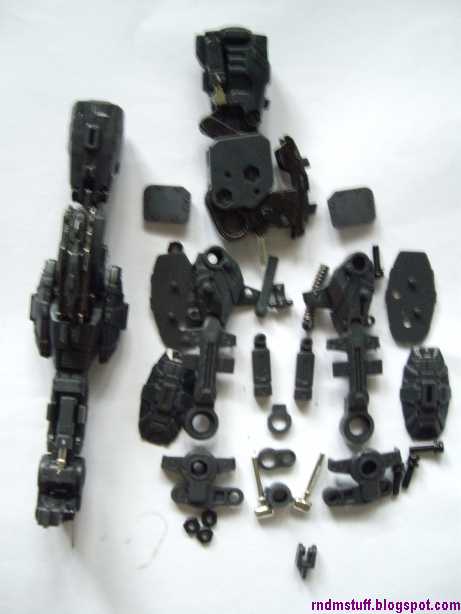
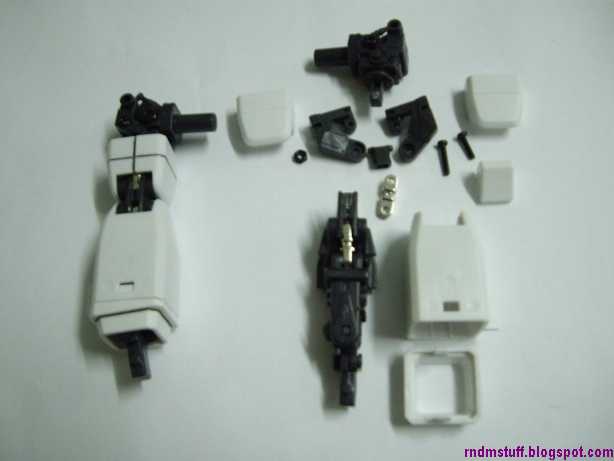 As you can see from the construction shots, you need to unscrew some parts if you want to display the inner frame. I'm too lazy to do that. ^^;
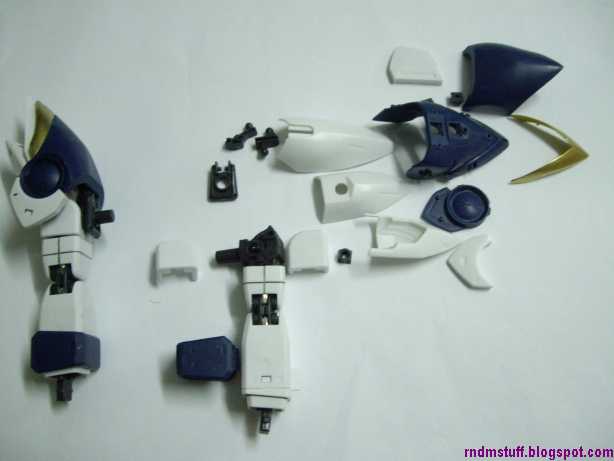 Decided to paint the yellow parts gold. If there are silver pistons, there must be some gold somewhere. XD
I actually put together the shoulder armor of the right arm wrong in that shot. I fix it right after though. x.x
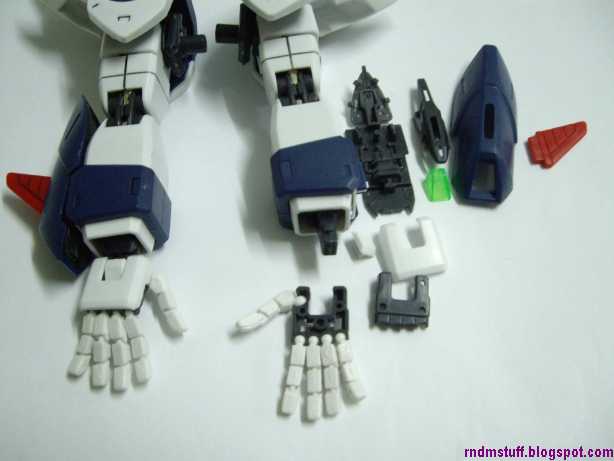 The arms is the second easiest section to build. Second to the wings that is.
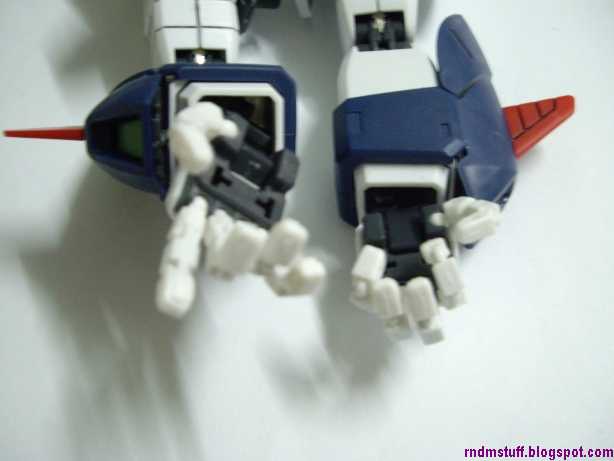
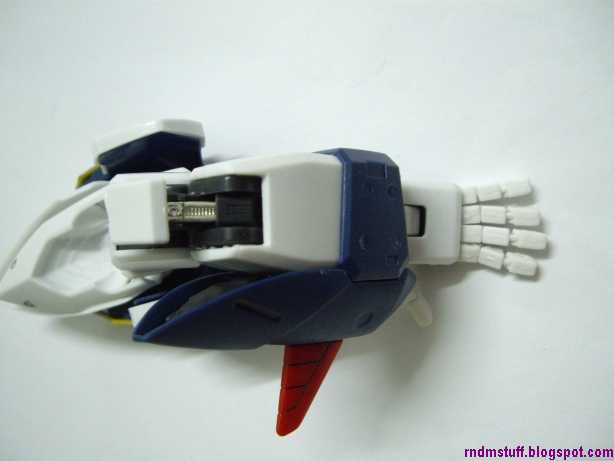
Gotta love the pre-assembled fingers. The fingers are pre-assembled, so putting this part together is relatively easy and painless.
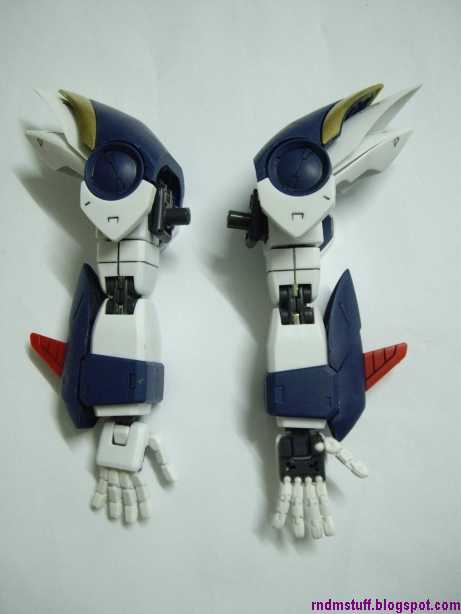
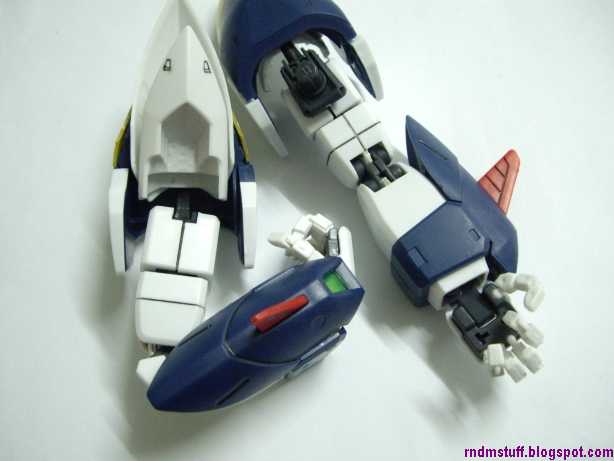 It can't bend to a complete 180 but it is good enough. I actually don't dare to push it too far as I'll risk the pistons to come out. >.>;
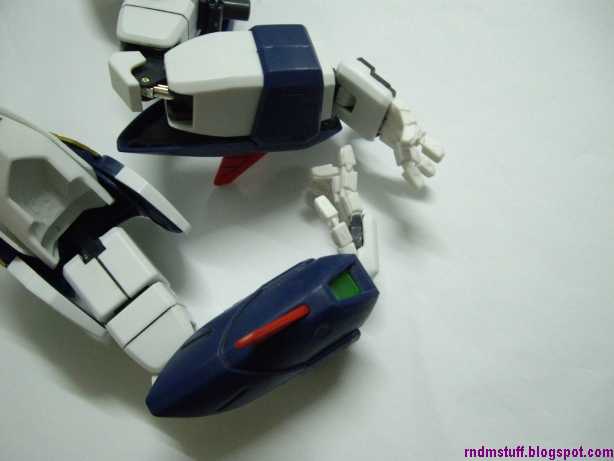 The wrist are quite flexible! They are not the same, at all, compared to any grades I've built before. I can't really show much of it but they can move about similar to human wrists. Really nice.
Note: The rear area of the blue part of the arm has some obvious molding marks on them. Not so obvious through the shots I've taken though. I know some of you may not like this fault but it doesn't really bother me since I normally look from the front. ^^;
Part 2: Legs
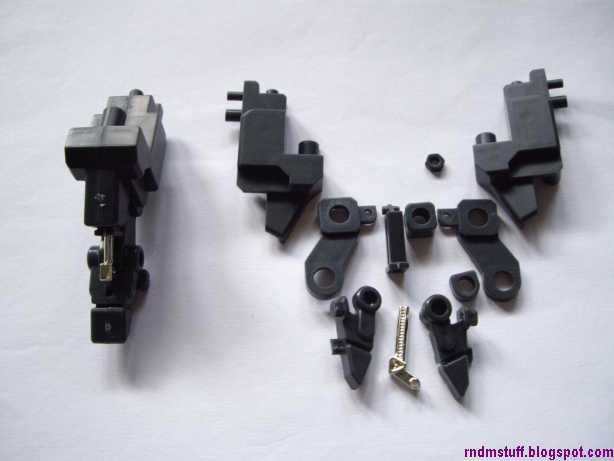
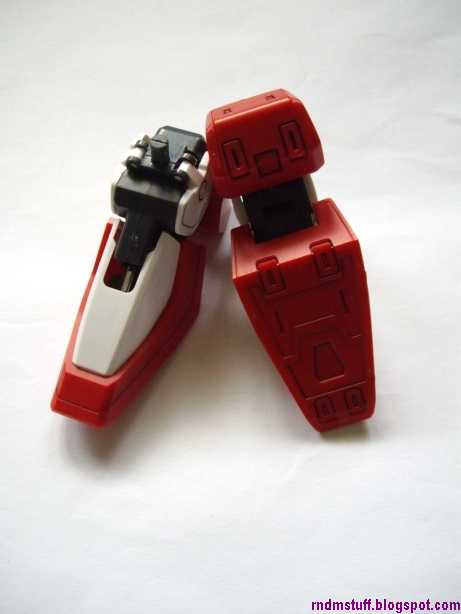
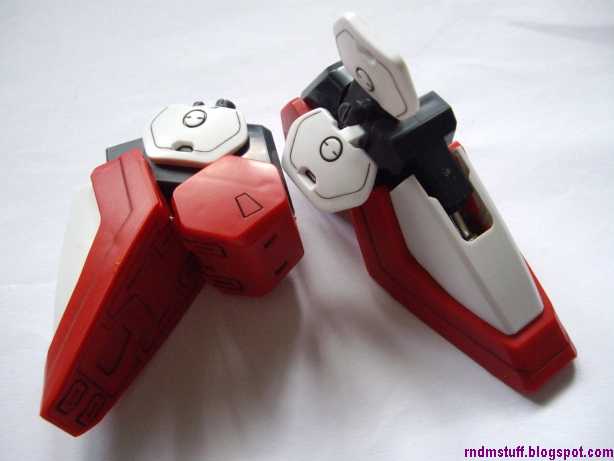
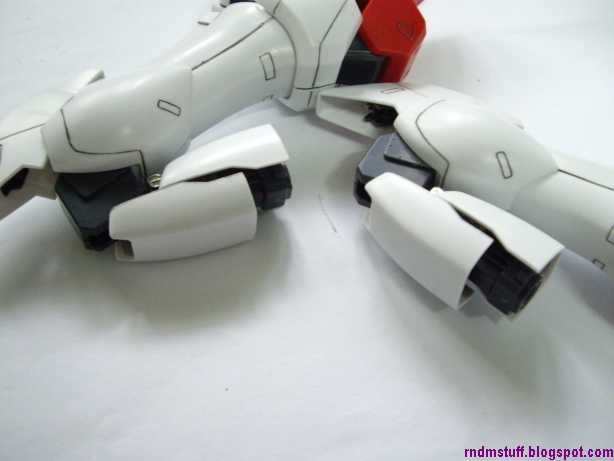
 Relatively simple build. I advise you to use superglue for the gray connecting section of the feet to the red armor in the front (if you understand) so that the feet armor don't come off easily. ^^;
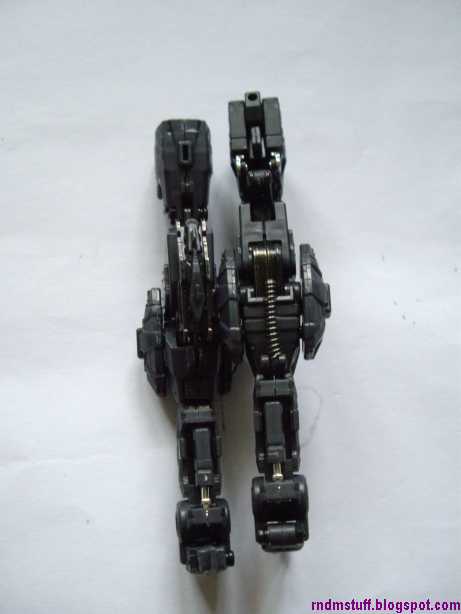
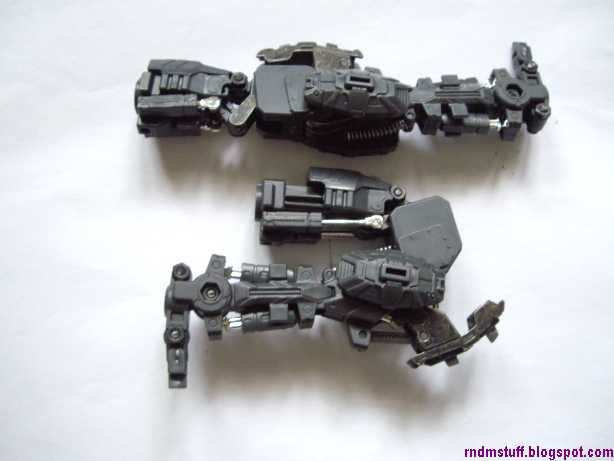
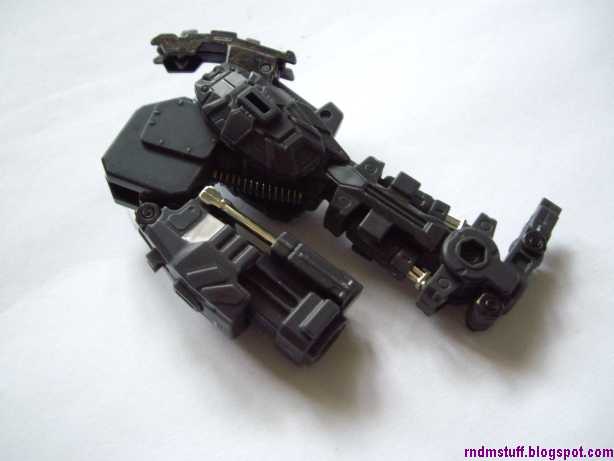
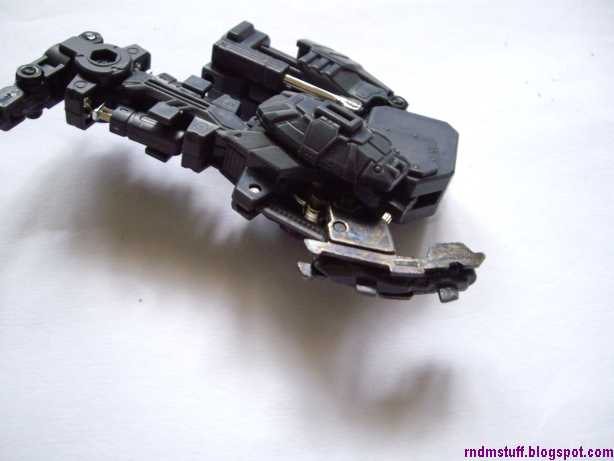
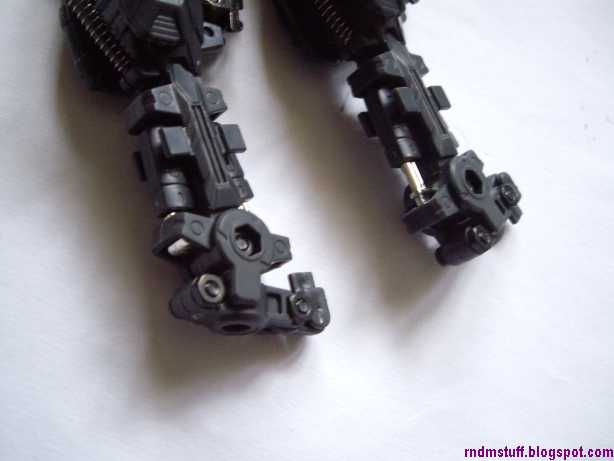 Look closely at that inner frame. All of the shiny parts acts as pistons and shows some piston movement. Nice.
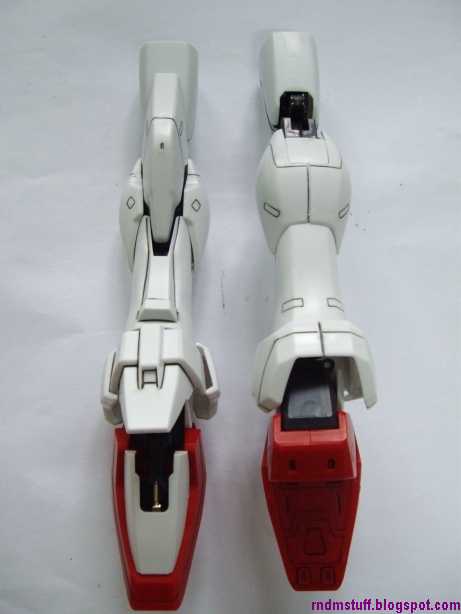 Something which I didn't take a photo off - the spring mechanism of the square armor plate under the knees at the back. The armor plate can be pushed down when you are bending the legs and with your own bare hands. Neat, eh?
Part 3: Waist, Torso, Head
Due to the LED gimmick, construction of this part virtually continues from waist until the backpack...
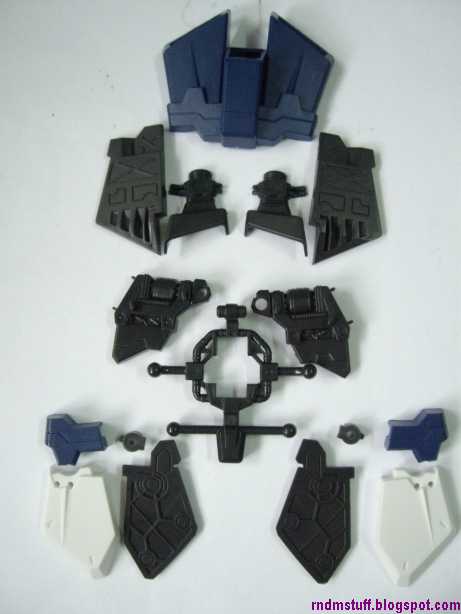
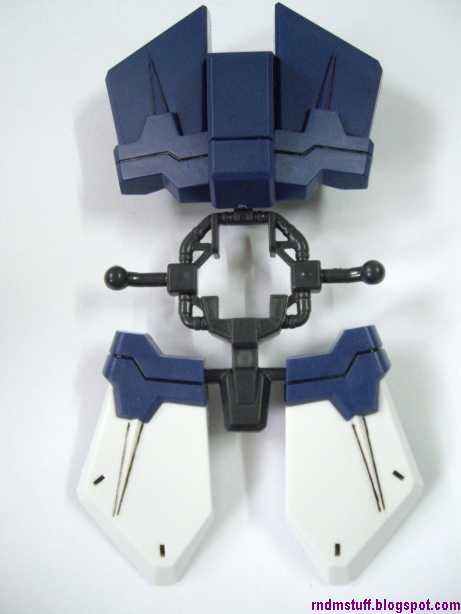

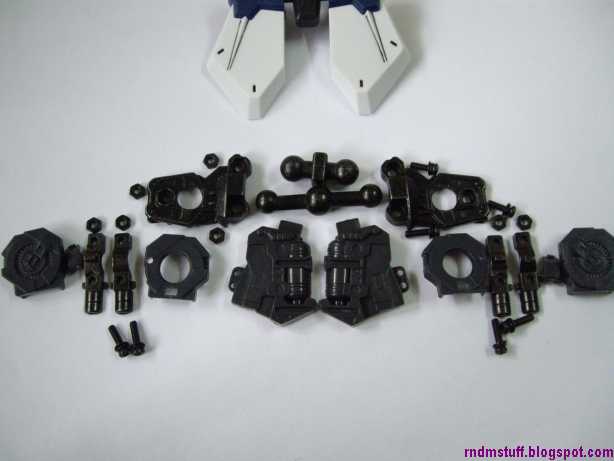
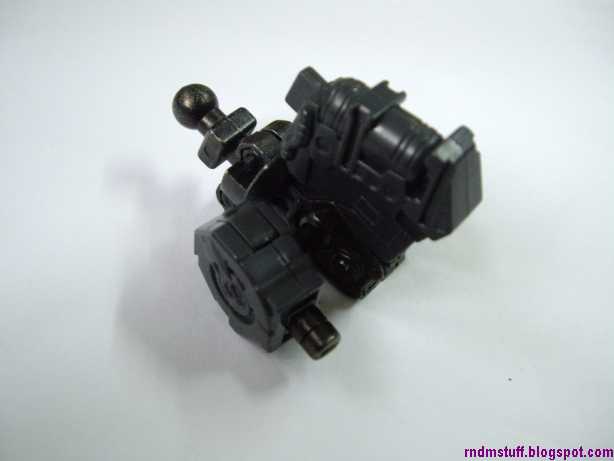
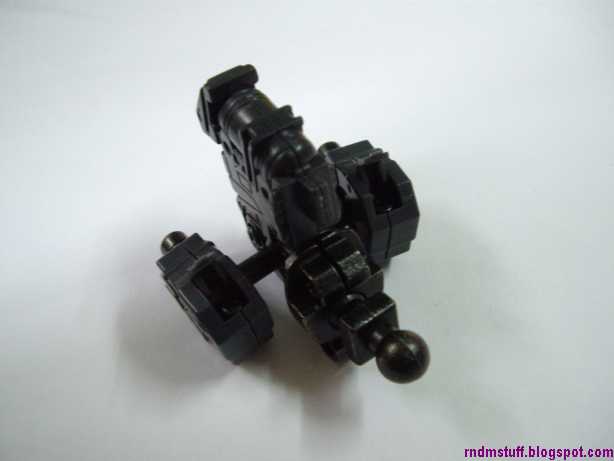 Note the open-able hatch to the screws. This is so that you can essentially "lock" the legs by the hip when needed. I think this will greatly help me review it later... might. ^^;
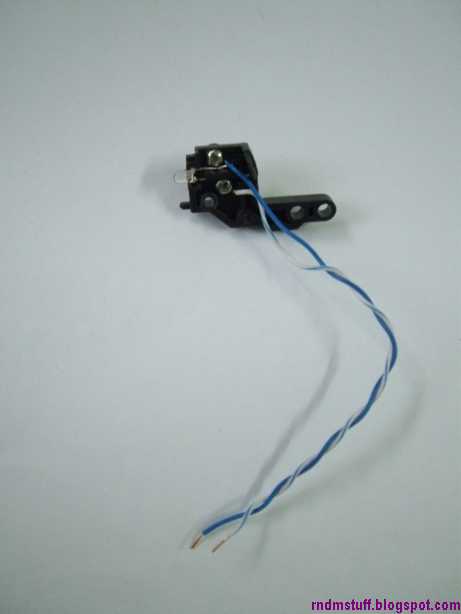 Too lazy to show step by step so I jut put the LED stuff together first...though it didn't work out in the end... The original version used black and white wires instead IIRC. So, if you follow the instructions word by word, distinguish which is color is which by yourself. >.>;
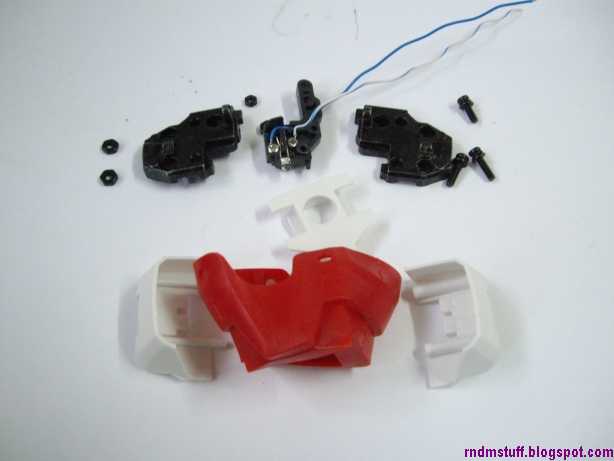
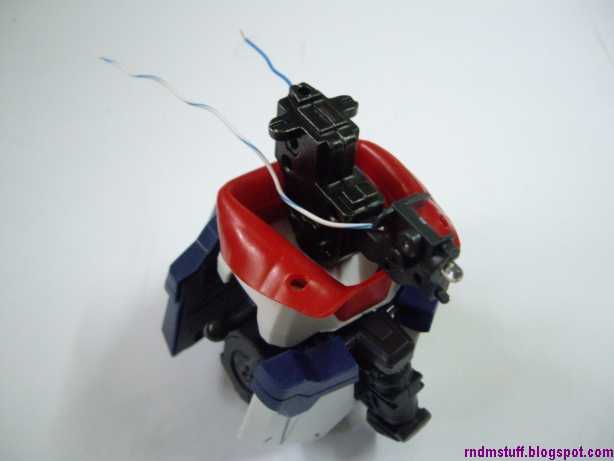 Yes, that red part of the torso is made of rubber (but not sure it its 100% rubber). You need to fold it down during the earlier construction phases of the torso.
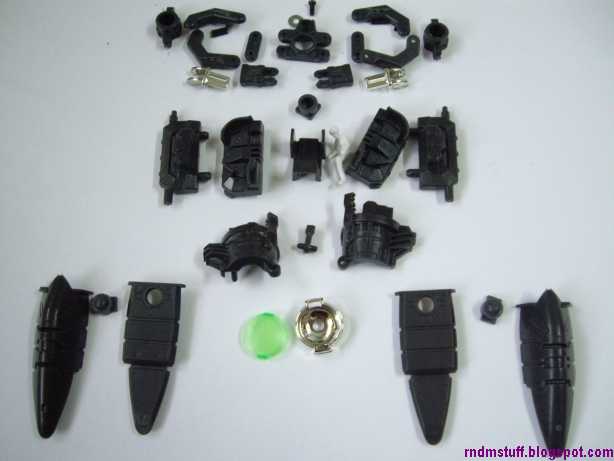
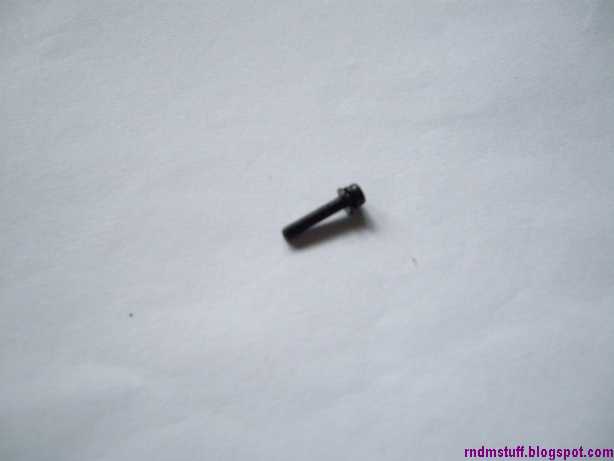
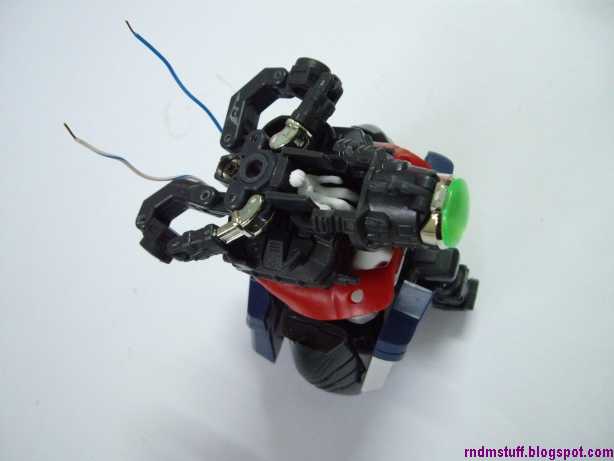 See the upper torso part that controls shoulder movement? Yes, it was totally PITA to put together (a total of 6 "iron screw pins" to "smash" in). I recommend you to drill the holes a bit with your screwdriver before inserting the "iron screw pins" and literally "hammer" them in with the bottom of the screwdriver handle. Make sure you don't have a cluttered desk area while doing so or else the small part may disappear....
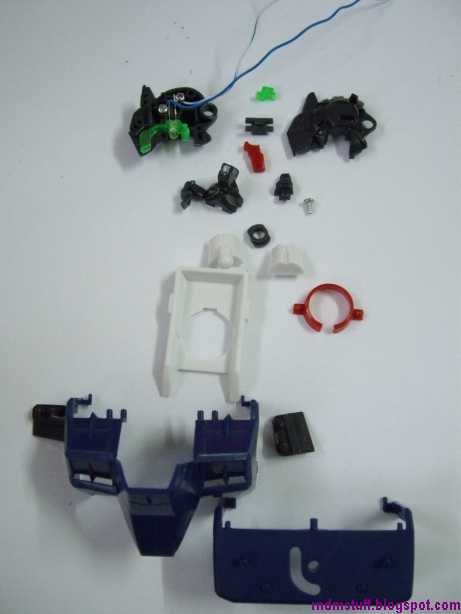
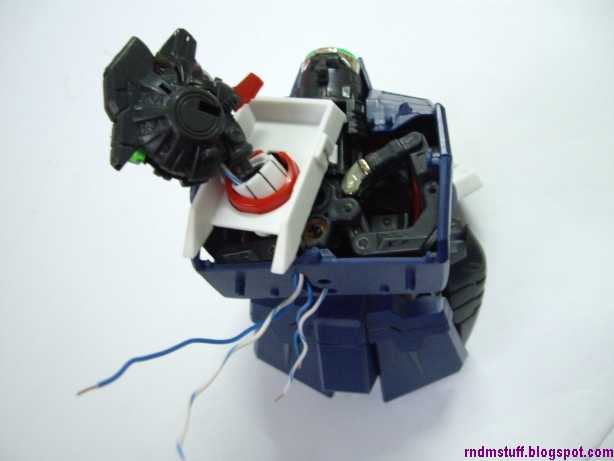 LEDs for the head. Because of the green pieces inside the head, there is totally no sticker for this PG (I just realized that at this point). The head is not secured yet because the shoulder vulcans need to go in first.
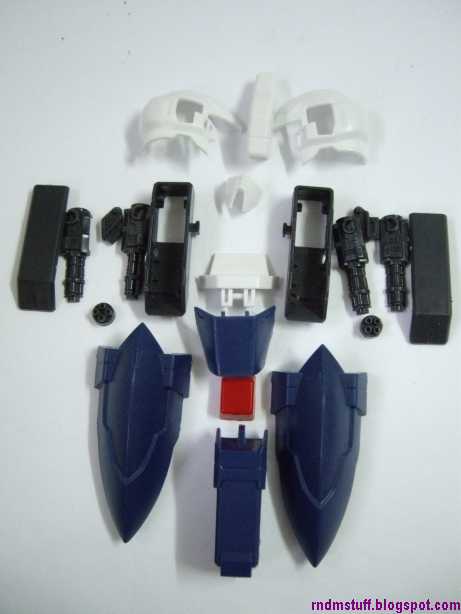

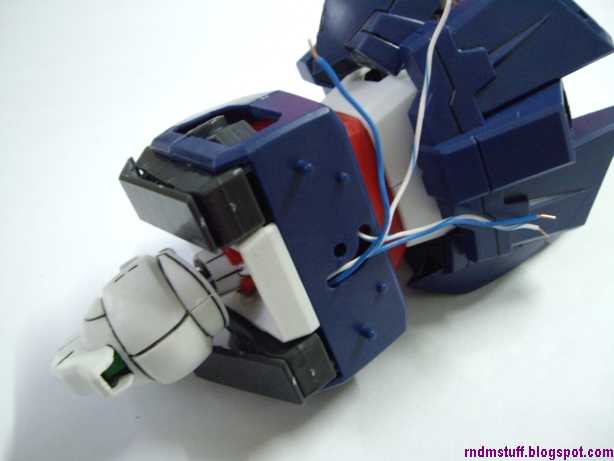
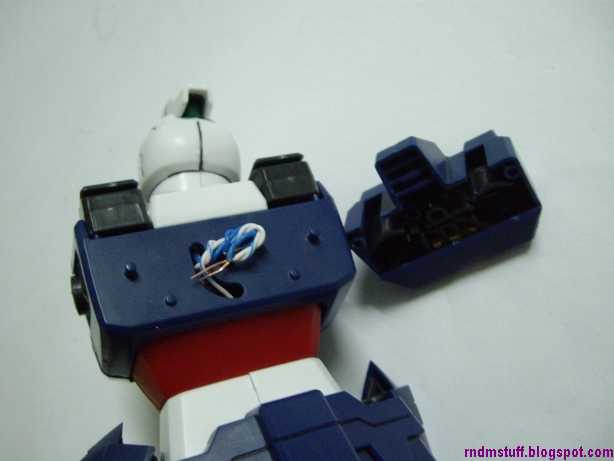 I tried but the screws for the battery holder just didn't want to screw in. Thus, stopped as I didn't want to waste the whole day trying to force the LEDs to work out. @_@ Furthermore, I dropped and lost one of the metal connectors and lack the right batteries...
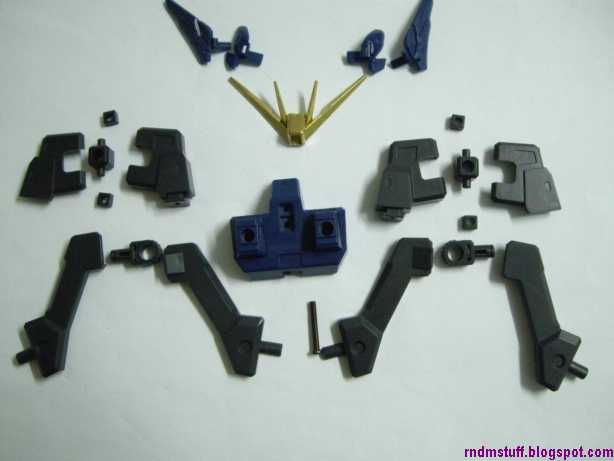 The rest of the head parts. The V-Fin is hollow though... just like those SDs. ^^;
Painted it gold since I already painted gold on the yellow shoulder parts for color "correct" sake.
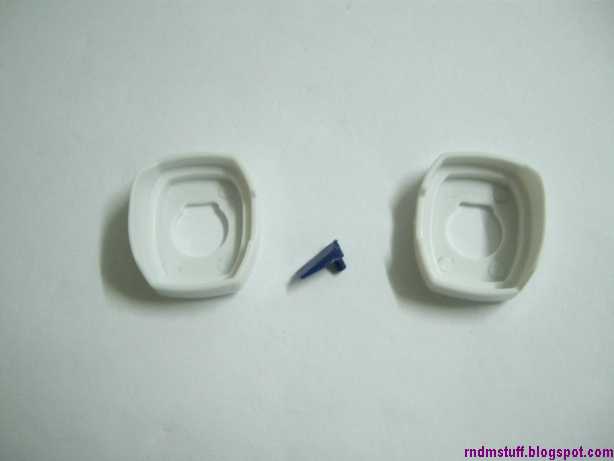 The big white parts are for the legs to connect properly to the waist while the small blue part is to cover the screw at the backpack. I thought I lost the blue part initially but I luckily found it. =)
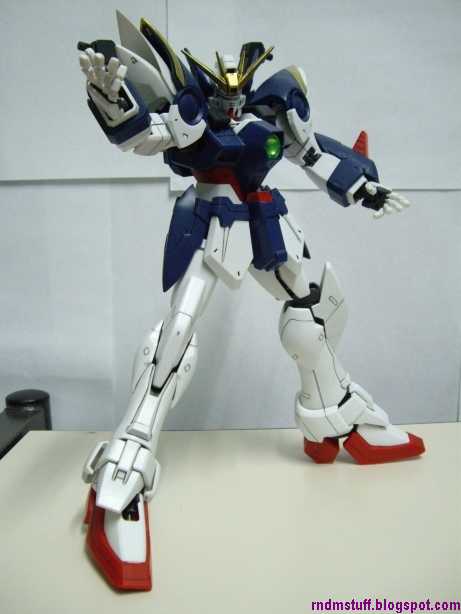
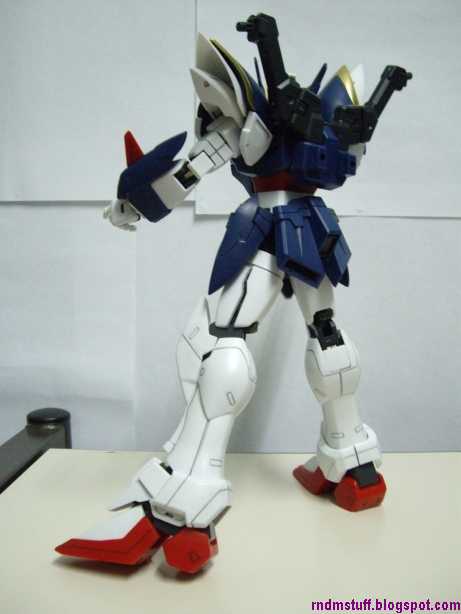 The Wing stands firmly without its wings on. If you want to play with it, I advise you to take of the wings. XP
Part 4: Wings & Weapons
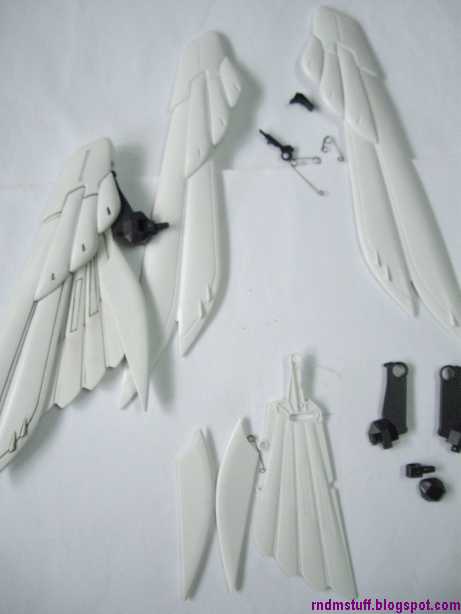
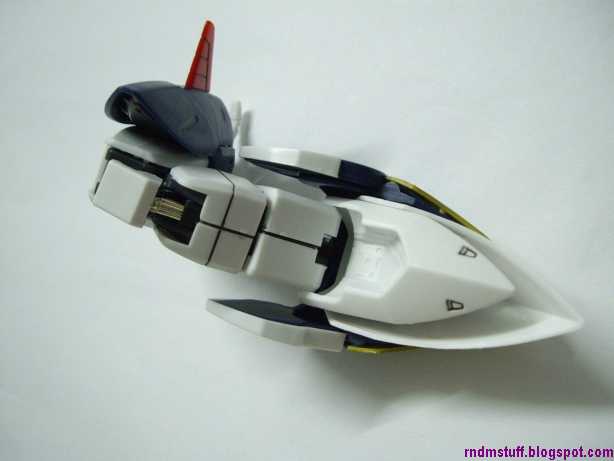
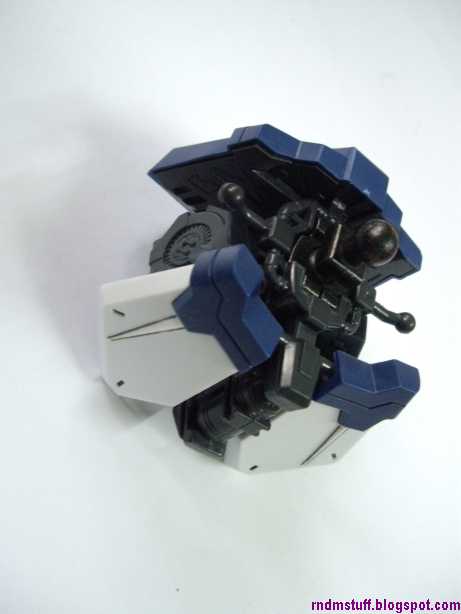
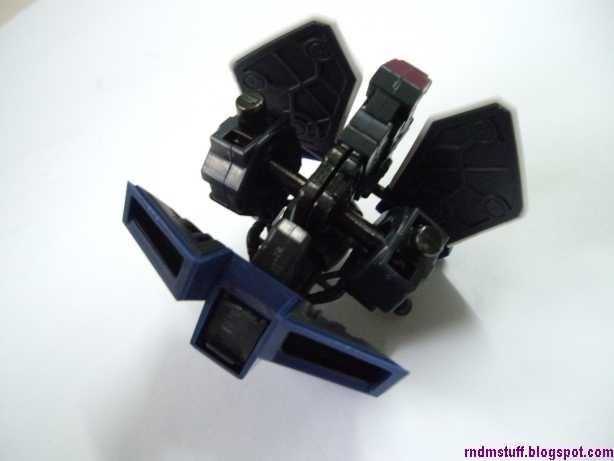
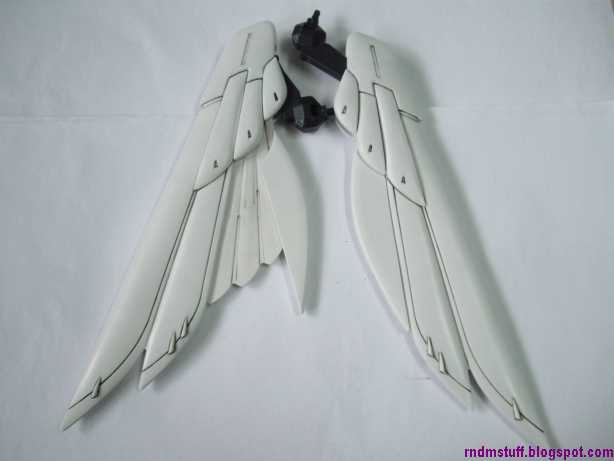 Some points of articulation for the wings here. These go to the back of the Wing. Unlike the MG (as far as I know), it uses a spring mechanism for the opening and closing of the "inner"wing parts. So you can spring it open! Really nice.
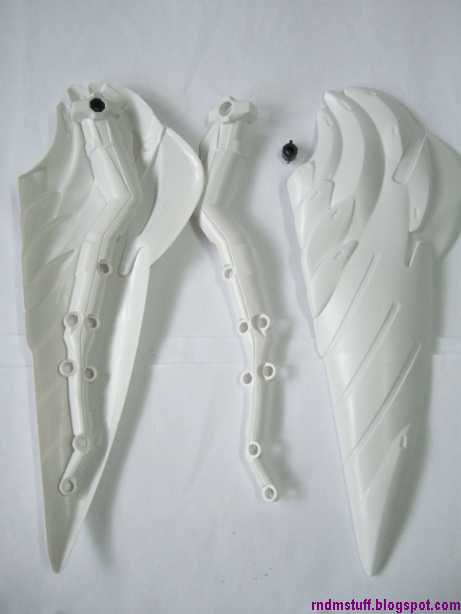
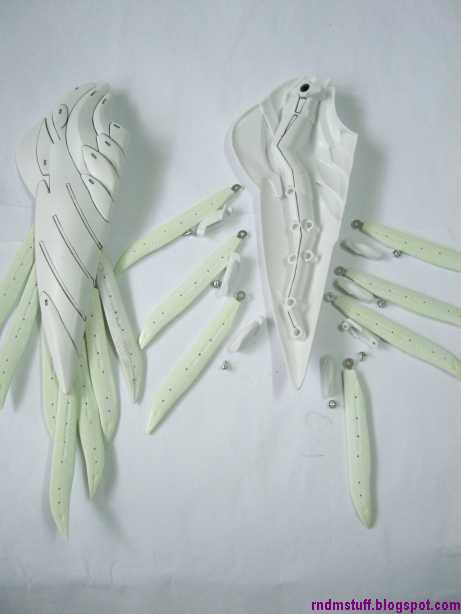
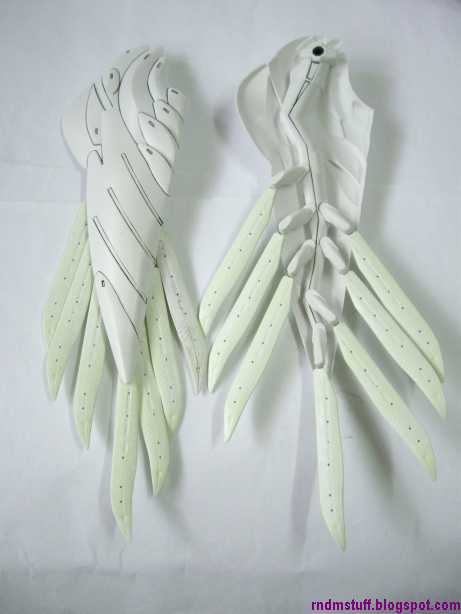 The feathers are a little on the yellow/green side probably due to age. You can rub it off with an eraser if you want. These go to the sides of the Wing similar to 00.
The feathers are made of rubber with a metal strip inside. The metal strip allows you to bend the feathers to your liking (but don't do it too extreme).
Furthermore, the construction manual tells you to gently bend the feathers around the middle to give it more "depth", which I didn't do. I just bent it a little bit now but it seems some of the earlier shots for the next part won't have this feather effect. XP
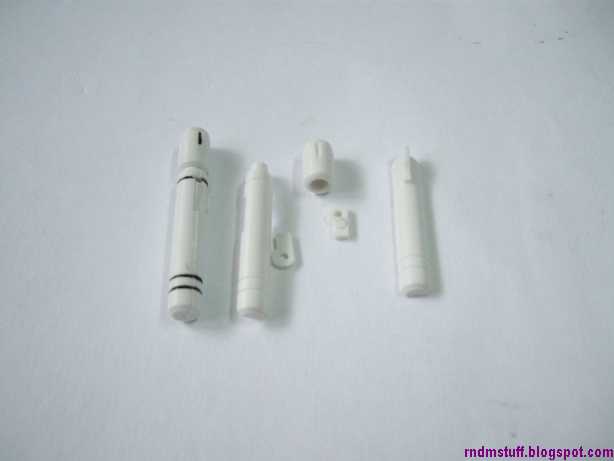
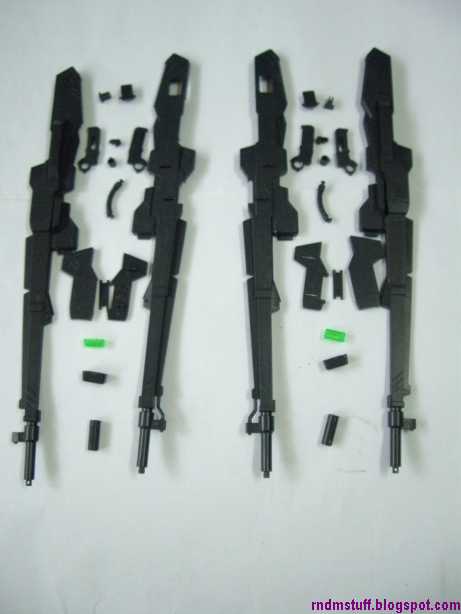
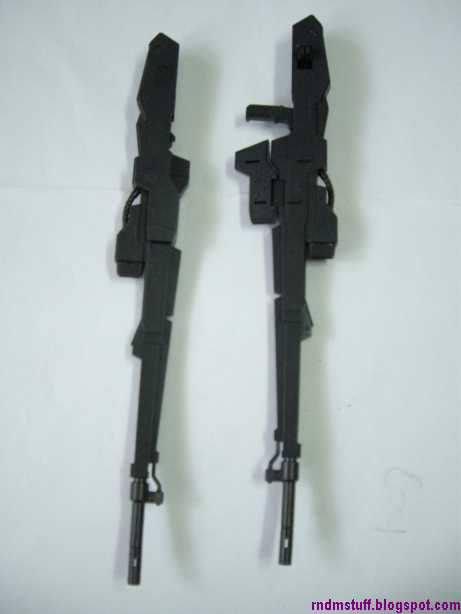
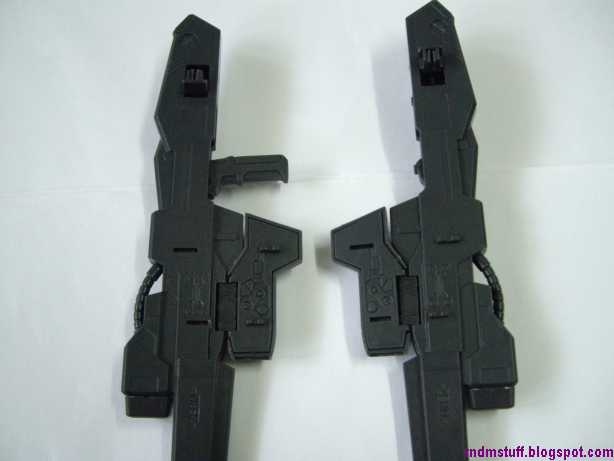
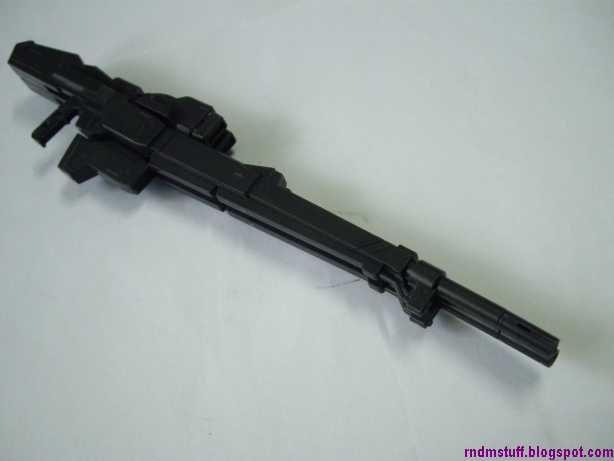
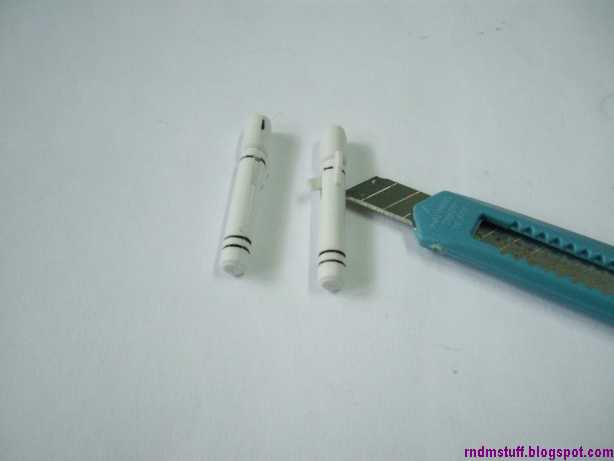 The beam sabers. I suggest you superglue the tip part because its quite loose. To push out the connectors to the palm, you might need to use a knife (got this idea from Dalong) or have sharp nails.
I also suggest you to sand off the "peg" of the beam part as it won't go in easily if you don't.
Okay, that's all for this WIP compilation. Until the next post~
A few things I want to say before the final part of the review (hopefully can be done by tomorrow);
- I managed to tighten the waist a little after a bit of re-enhancing the sturdiness yesterday.
- I put in some cut pieces of plastic bag for the rear wings since it sags too much by the connection to the backpack. You can use the superglue trick as well for this.
- How tight or loose some parts are depends on how tight you screw in the parts. So, don't screw in too hard or too loose. =)
- Not all screw points can screw completely. As in, they won't tighten until you can turn it no more. Not really a problem as the screws doesn't drop off, for most of them, that is. Some didn't work out such as the screws for the battery holder (to hold the wires in place).
- I seem to be one nut missing. Either it was my fault or they forgot one nut. Thus, there was one part I didn't screw in though I think it had no effect on the overall kit in the end. @_@




7 comments:
Wow, seems quite good for a bootleg kit :D
And very detailed step by step building. Will be very useful for those who plan to get this kit! By the way have you encountered any fitting problems with this kit?
very nice review and WIP, im surprised this is a bootleg! how does the price compare to the original?
i remember seeing some PG bootleg where you cant move the fingers so this one was interesting to see that you can lol
@chubbybots: If you read the review/WIPs carefully, I "shouted" PITA for the shoulder mechanism inside the torso (hardest part to fit). Otherwise, there isn't much fitting problems. Even if there were some excess plastic, they can be removed very easily with a knife (very minimal).
@rockleelotus: Well, for the price I paid for this... lets just say it costs about 1/3 of the original (find the lowest priced one available). A better clue would be - cheaper than my Astray Blue Frame. XP
Added a bit more commentaries at the bottom for a more clearer "picture". ^^
I saw PG 1/60 Exia has the same price with this in my local forum. Don't really think to buy it though.
Ah the 1/60 Exia. Its not a PG BTW. It is just a large scale no grade. Basic articulation with similar details to the 1/100 and HG. Good for being just a statue. I have one and it just stands there in the display cupboard. XP
So, that's a No Grade.
That's why the price seems rather off compared with other kits.
Post a Comment